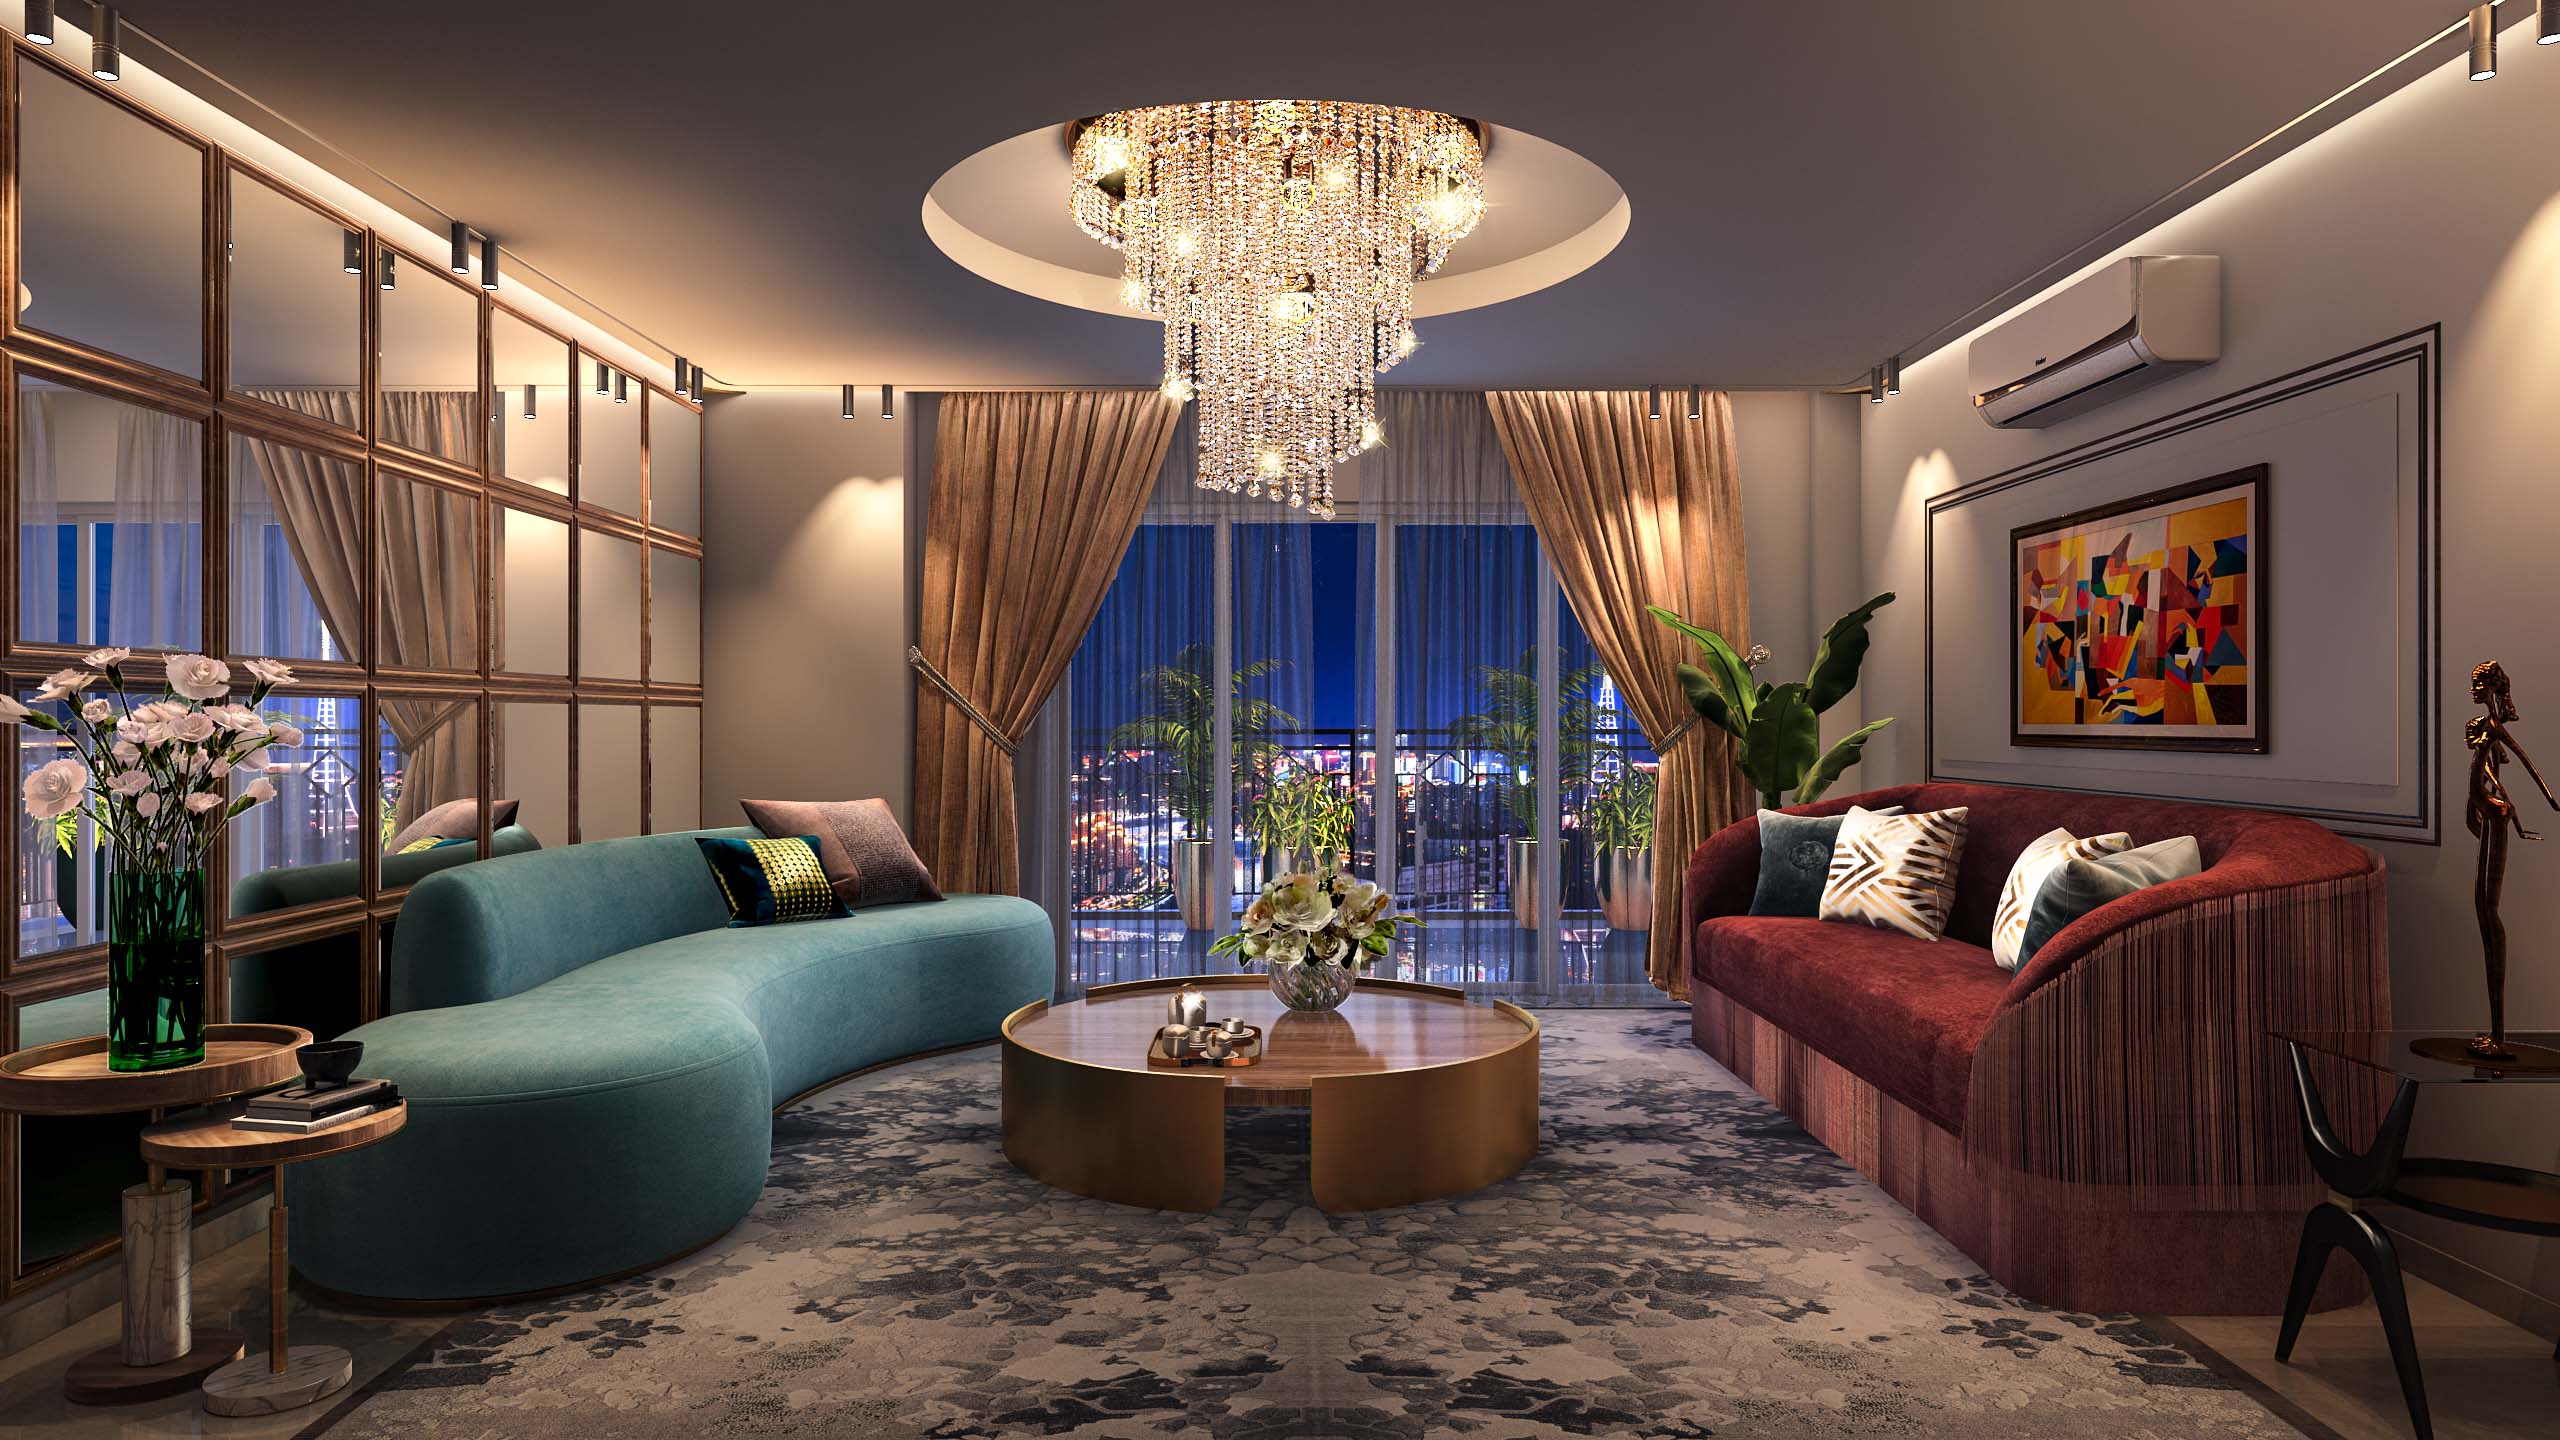
your Dream it, we design it!

3D lamp visualization entails developing detailed and realistic digital models of lighting fixtures to demonstrate their design, functionality, and aesthetic appeal. This procedure starts with creating a 3D model of the lamp, including its shape, materials, and components. Textures and materials are then used to approximate different finishes like metal, glass, and fabric.
Lighting sets are used to show how the lamp’s illumination interacts with its surrounds, emphasizing aspects such as light dispersion, shadow casting, and overall mood. Designers and manufacturers can present their lamps in realistic settings by creating these models, allowing clients to see how the fixtures will appear and perform in various situations before making a purchase or choice. This method improves product presentations, marketing, and design reviews . Visit Now
Explanation of the 3D visualization process for lamps:

1. Model Creation
Sketching: The procedure starts with concept sketches or drawings of the lamp. These sketches outline the design elements, measurements, and overall style.
3D Modeling: The lamp is three-dimensionally modeled using tools like Blender, Autodesk 3-D Max, or SketchUp. This entails constructing a digital model of the lamp’s shape, which includes elements such as the base, shade, and light bulb.
Detailing: The model has been refined to include detailed details like switches, decorative embellishments, and texture variations. Precision modeling guarantees that the light is accurately depicted and that all design aspects are properly recorded.
2.Texturing and Materials
Texture Mapping: Textures are 2D images that are mapped into a 3D model to approximate real-world surfaces. Materials for a lamp may include metal, glass, wood, or cloth.
UV Mapping: The 3D model is unwrapped into a 2D plane, also known as UV mapping, to ensure that textures are applied appropriately and flawlessly throughout the model’s surface.
3.Lighting Setup
Adding Lighting Sources: A variety of light sources are added to the 3D scene to simulate how the lamp will illuminate the surrounds. This includes configuring ambient, point, directional, and spotlight sources to simulate real-world lighting settings.
Light Placement: Positioning the lights entails adjusting their intensity, color, and angle to represent how the lamp’s light interacts with its surroundings. This helps you demonstrate the lamp’s functioning, such as how it casts light, forms shadows, and impacts nearby objects.
4.Rendering
Rendering Process: The 3D scene, comprising the model, textures, materials, and lighting, is processed to produce a finished image or animation. This requires extensive calculations to mimic how light interacts with the model and produces realistic visual effects.
Render Settings: A variety of settings are used to influence the output quality, such as resolution, anti-aliasing, and sample rates. Higher settings generate more realistic and precise renders, but they use more processing time.
. 5.Post-Processing
Color correction: includes performing adjustments to improve color balance, contrast, and brightness. This process guarantees that the final result is colorful and accurate to the desired design.
Adding Effects: Depth of field, motion blur, and glare can be used to improve realism and visual appeal.
Retouching involves correcting any rendering artifacts or defects. This includes addressing texture seams, lighting irregularities, and undesired visual artifacts. Visit Now
conclusion :-
3D lamp visualization creates a thorough and accurate portrayal of lighting fixtures, transforming design thoughts into detailed digital models. This technique efficiently highlights the lamp’s design, functionality, and aesthetic appeal by meticulously building the 3D model.
applying realistic textures and materials, establishing appropriate lighting, and rendering high-quality graphics. Post-processing improves the final output, ensuring that the visual representation is polished and effective.
This precise approach not only helps with design review and client presentations, but it also allows for improved marketing and product decision-making. Finally, 3D visualization is an effective tool for bridging the gap between conceptual ideas and real-world applications, ensuring that the lamp’s final presentation reflects its intended vision and usage.

