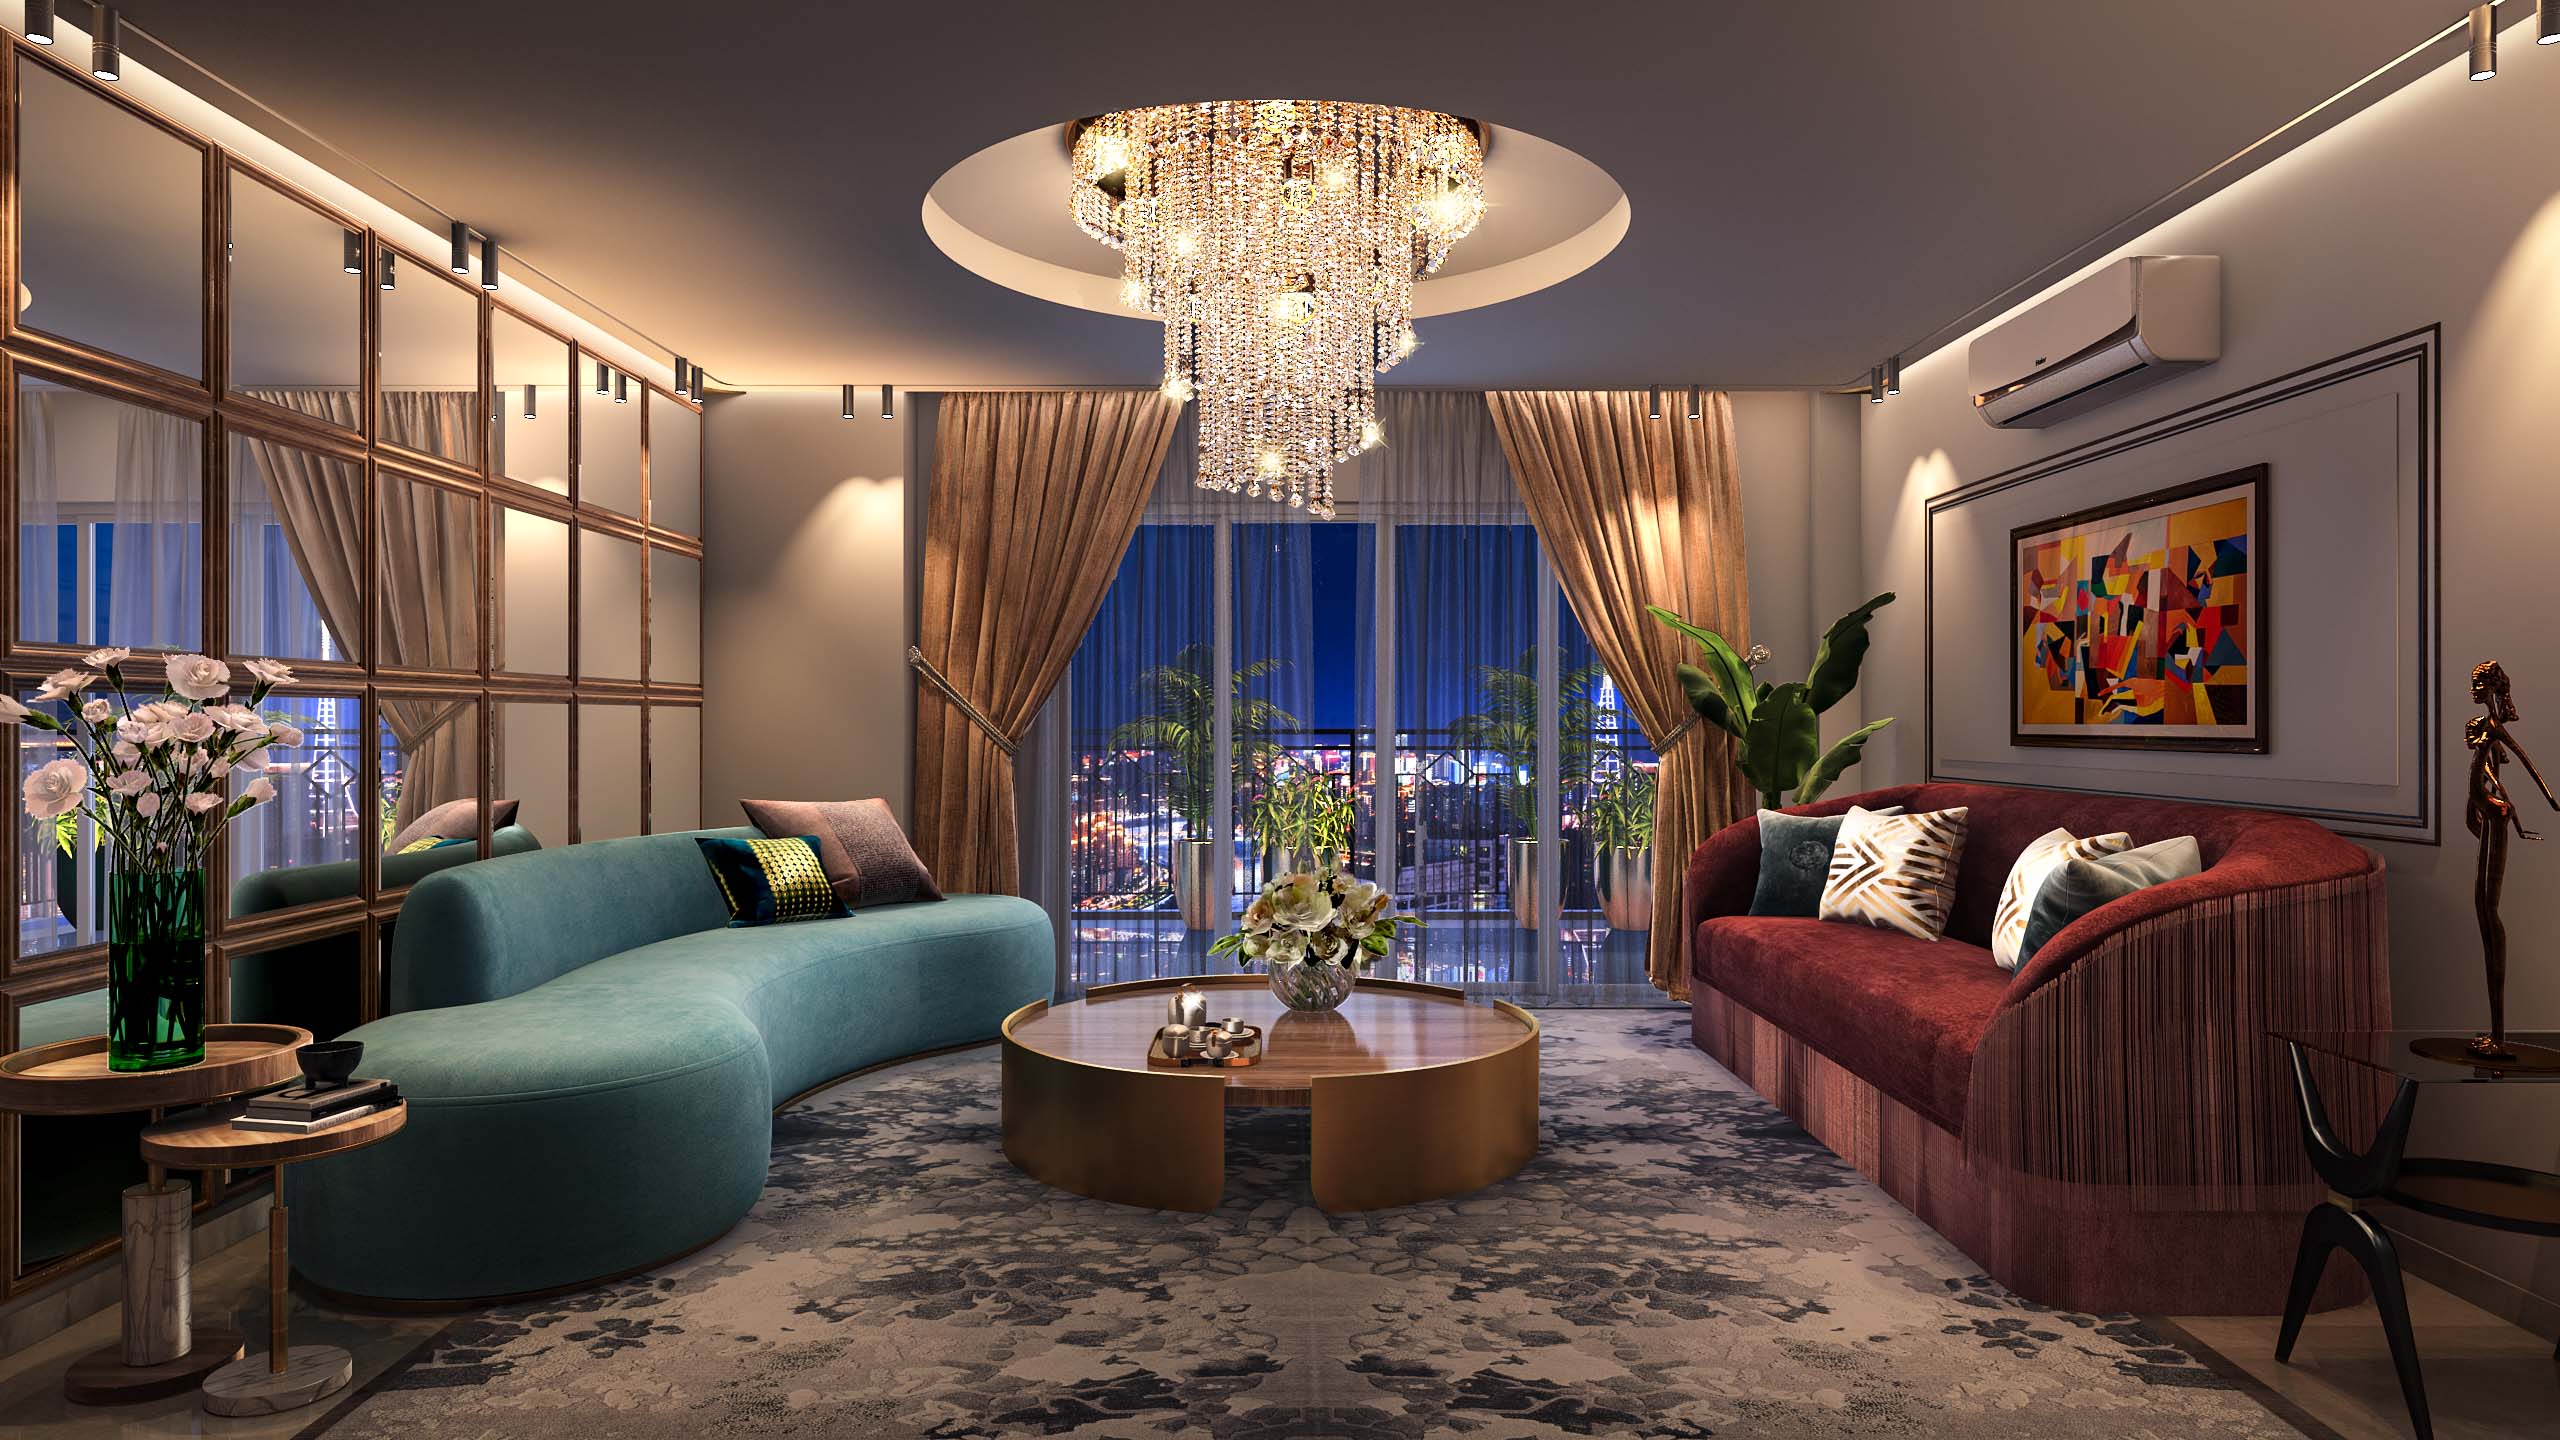
3D rendering is the process of converting 3D models into 2D images with realistic lighting, shadows, textures, and colors. This process is a key part of many fields, including architecture, gaming, film, and product design. Here’s a breakdown of how it works:
Modeling
Creation of 3D Objects: The process starts with the creation of a 3D model using software like Blender,
Maya, or 3ds Max. These models can represent anything from characters to buildings to entire landscapes.
Geometry and Meshes: The models are made up of polygons (usually triangles or quads) that form the surfaces of the object
Texturing
Creation of 3D Objects: The process starts with the creation of a 3D model using software like Blender, Maya, or 3ds Max. These models can represent anything from characters to buildings to entire landscapes.
Geometry and Meshes: The models are made up of polygons (usually triangles or quads) that form the surfaces of the object.
Camera setup
UV Mapping: This is the process of projecting a 2D image texture onto the 3D model’s surface. UV maps allow textures to wrap around the 3D geometry properly.
Textures and Materials: Applying textures (like wood grain, metal, or fabric) and defining materials (like transparency, reflectivity, or roughness) to the model.
Rendering Process
Rendering Engine: Using a rendering engine (like V-Ray, Arnold, or Unreal Engine) to calculate the final image. The engine simulates the behavior of light and materials to create a photorealistic image.
Ray Tracing vs Rasterization: Two common rendering techniques. Ray tracing simulates each ray of light individually, resulting in highly realistic images, while rasterization is faster and often used in real-time applications like video games.
Final Output
1. Create a 3D model of a house using Blender.
2. Apply textures for the walls, roof, and windows.
3. Set up lighting to simulate sunlight and interior lights.
4. Position the camera to get the best view of the house.
5. Render the scene using a rendering engine like Cycles.
6. Post-process the image to adjust colors and add effects.
7. Export the final image for use in a presentation or marketing material.

